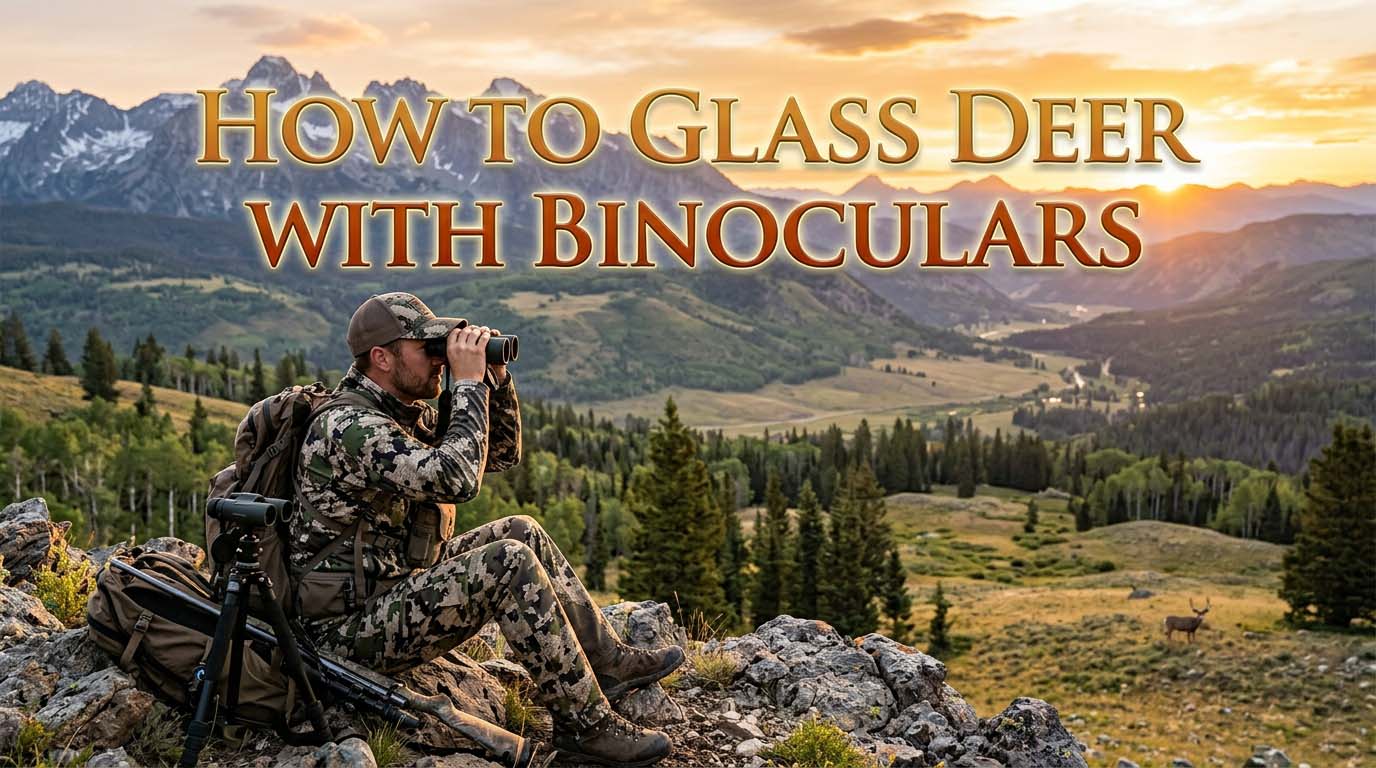
You own a good pair of binoculars. You know they will show you a deer at 500 yards. But the last time you sat down to glass a canyon, your arms ached, your eyes watered, and you eventually stood up and walked … only to bump a buck from the very patch of brush you had been staring at.
If that sounds familiar, you do not need more or better optics. You need a repeatable system for how to glass deer with binoculars. I call it the Glass-Reason-Stalk Loop. It works in three stages: stabilize your glass so it doesn’t shake, train your eyes to see a deer’s signature, then use what you see to plan a stalk.
The Setup That Eliminates Failure
Failure starts with a shaky image. A shaking binocular reduces your effective magnification. At 10x, a slight tremor turns into a 20-yard jump at 100 yards. You will literally skip over the ear flick of the biggest buck you have ever seen. That is why the first thing I do when I reach a glassing point is set up a tripod.
I use a light spotting scope tripod, but any stable pair of legs will do. Even a walking stick with a clamp adaptor is better than pure arm. Your arms are not hydraulic arms. You will fatigue after ten minutes, and you won’t notice it.
Pick a Tripod and a Harness
A glassing harness holds your binoculars high on your chest, not dangling from a strap. It keeps the weight against your body, so the binos don’t swing when you bend over to look at a track. And it leaves your hands free to adjust the tripod legs.
The tripod itself does not need to be expensive. A small tabletop tripod can sit on a log, or a full-size one with an adjustable ball head works for tall sage. The point is to take your arms out of the equation completely.
Set Your Diopter Once, the Right Way
This is the most overlooked piece of gear maintenance in hunting. A wrong diopter setting makes a thousand-dollar binocular look like a cheap toy. Set it once at the start of the season, and you will notice a massive difference in sharpness.
- Pick a detailed target around 80 yards away – a fence post or a tree trunk with rough bark.
- Close your right eye. Look through the left eyepiece with your left eye. Use the center focus wheel to make that left eye sharp.
- Now close your left eye and open your right. Do not touch the center wheel.
- Twist the diopter ring, usually on the right eyepiece, until the image is equally sharp in the right eye.
- Open both eyes. The image should be crisp with no double vision. If you see doubling, repeat the process.
If your binoculars have lockable eyecups, twist them to the correct length. If you wear glasses, keep them on and fold the eyecups down.
Supported Glassing vs. Quick Look
Freehand glassing works for a quick check. Plant your elbows on your knees and let your forearms support the weight. But if you plan to study a canyon for more than a few minutes, use the tripod. The rule of thumb is simple.
Freehand for moments, tripod for minutes. A tripod also gives you the ability to make slow, smooth horizontal pans. When you are on a tripod, keep your hands relaxed on the focus wheel. All the weight is on the plate.
The Visual Detection System
A stable picture is only half the equation. The other half is what your brain does with the picture. Humans are excellent at seeing moving objects, but deer don’t always move. A bedded deer becomes a horizontal line within a vertical world. Your brain has to learn to recognize a deer’s signature.
Know the Deer Signature
A mule deer is built like a horse. It has a flat back that is the same height from shoulder to hip. When it is bedded, it looks like a lump. But that lump has direction. The front of the chest often faces downhill.
When you scan a rocky hillside, you are not looking for a deer. You are looking for a shape. The outline of the head gives you the most movement.
The ear is a cupped, scoop-like shape that sticks out at a right angle from the head. Once you see a set of ears, your brain will click in, and you will recognize the whole animal.
The Three Passes
When you look through a binocular, your instinct is to start at the bottom of the glass and scan up. That is wrong. You should start at the top of the hill and scan down, because the horizon is where you will see the first antler reflection.
| Pass | What You Do | What You Look For |
|---|---|---|
| Motion Pass | Relax your eyes. Let the view go slightly soft. | The flick of an ear, the flip of a tail, the stepping of a leg. |
| Shape Pass | Focus hard on one small area at a time. | The flat back line, the round rump, the broad shoulder. |
| Tone Pass | Slowly sweep the focus knob back and forth. | A spot that is not rock-gray or dirt-gray. A deer will glow a soft tan or amber in the shadows. |
You do not do all three passes at once. You do a complete sweep with the motion pass. Then you move to the shape pass for the zones where a deer could hide. The tone pass is what you use when you feel like something is off.
Use the Focus Knob to Layer
Here is a trick most hunters miss. Use the focus knob not just to sharpen the image, but to layer the view. Instead of trying to look at the whole canyon at once, pick a patch of brush at 200 yards. Bring the focus to critical sharpness.
Then pull the focus back to 100 yards, then to 300 yards. This forces your brain to look at multiple distances in the same field of view. You will start to see deer that are exactly the right size in the corner of your vision.
Magnification and Heat
Everyone asks what magnification is best. For most hunting, 8x or 10x is the sweet spot. 10x shows more detail but is harder to hold still. If you are in heavy timber, 8x. If you are in open basins, 10x.
What about 15x? Only on a tripod, and only for counting points after you have spotted the deer. On a hot afternoon, the mirage will boil the landscape and make a high-powered binocular useless. A 10x will cut through the heat haze better than a 15x.
The Protocol for Finding Bedded Deer
Most of your daylight hours will be spent looking for deer that are not moving. They are bedded in the heart of thick cover. This is the real test of a glasser.
Read the Bedding Zone
Start by finding the shade. Mule deer use shade to keep their body temperature down in the warm months. In the fall, they will use the southeast slopes in the morning and the northwest slopes in the afternoon.
When you see a ridgeline, look at the top third of it. A bedded deer will choose a spot just below the crest, so it can hear a hunter coming from behind while watching the bottom. It will not be out in the open.
It will be tucked against a rock or a tree that breaks up the outline. If the wind is howling, a mule deer will not be on an open lip. They will be on the leeward side of the ridge, or in the center of a stand of timber.
If it is raining, they will tuck under the tightest tree or overhang. Adjust your glassing to the weather.
The Typewriter Technique
The method I use is the typewriter. Here is exactly how to do it.
- Pick a landmark near the top of the zone you are hunting, like a dead pine or a jutting rock.
- Place your binoculars on that landmark. Now, without moving your head, pan left to the end of the clearing. Then let your eyes drop one-third of the field of view and pan right.
- Continue this up-and-down pattern until you reach the bottom of the drainage.
- Then move to the next band of terrain and repeat.
This is discipline. You will be tempted to stop and look at that one basin where you saw deer last time. Resist the temptation. The typewriter forces you to cover every inch of the ground. And remember to keep your head still. Move only your eyes.
Shade Bias
One simple rule. In the morning, check the shadowed west sides of rocks and thick trees. In the evening, check the shadowed east sides. As the sun moves, the deer move with it. When the weather is cold, a bedded deer wants to be in the sun to warm up.
When the weather is hot, it wants shade. Your job is to notice the pattern and shift your glassing window to match.
Patience, Then More Patience
Now the hard part. A bedded deer is a master of stillness. When you are glassing a slope, and you hit a patch of timber, do not move on after two minutes. Stay on that patch for five minutes.
What looks like a log could be a deer with its head laid back on its flank. You will see the head fly up to scratch an ear, or a front leg stretch. These are tiny, but they are the only thing that saves you from going home empty-handed.
The Decision Phase
Spotting a deer and harvesting it are two different skills. The glass is the best tool you have to close that gap.
Judge the Size Before You Move
When you first see the deer, do not reach for your spotting scope immediately. Wait a few seconds. Use the binoculars to see the body. Is it the size of a Labrador retriever, or a horse? In mule deer, look for the black-tipped tail that is small and pointed. Both does and bucks have this.
Look for antler presence. If the deer is lying with its head up, look for two dark vertical lines of tines just above and behind the forehead. If it has a thick neck that looks wider than a fence post, it is a buck.
Build a Stalk Route
Now that you know it is a shooter, you must build a map in your head. Look at the deer and then look at the terrain between you and it.
Find the nearest coulee, the deepest dry creek, the strip of serviceberry that runs to within 100 yards. Do not take a straight line. The deer will see you move across the bottom.
Instead, find a route that is on the backside of the ridge, even if it means walking a half-mile extra. If you lose sight of the deer when you drop off the ridge, you still have a picture in your head of which direction it is facing. That tells you which way to approach so the wind is in your face.
Watch the Big Travel Pattern
One of the biggest gifts your binoculars give you is watching the deer move in relation to water and food. If it is close to the last two hours of daylight and the deer is already standing, it is going to head to the nearest meadow.
Look for the trail the deer used to get to that spot. The path is a dark line that cuts the contours of the slope. You can stay high and glass until it disappears into the draw. Then you still know the route.
Troubleshooting the Invisible Deer
You have done everything right. The deer are still invisible. Here is what to do when you hit these walls.
I See Nothing But Rocks and Sage
If the country looks like the surface of the moon, look for the most out-of-place object. On a sunny day, a bedded deer will throw a perfect round shadow that rocks do not. Use the frame of your binoculars.
Instead of panning, pick a specific patch of vegetation and watch it for two full minutes. Do not let your eyes jump. It is amazing how often the exact silhouette you looked at ten minutes ago is suddenly a deer just because it flicked an ear.
Every Shadow Looks Like a Deer
Turn the tables. Instead of looking at shadows, look at the shape of the shadow edge. A deer shadow will have a sharp drop at the front line, where the head is. If you see a shadow that looks like a pear lying on its side, investigate.
And here is a trick. When you think you see a deer, do not look directly at it. Look to the side, using your peripheral vision. Then, without moving your eyes, slowly bring your focus to the spot. This uses the most sensitive parts of your eye to pick up motion.
My Binoculars Won’t Focus at 50 Yards
That is usually not a binocular problem. It is an eye problem. First, make sure the distance between the two eyepieces is correct. Do you see black half-moons in the image? Then your eye cups are not at the right length.
If the focus wheel seems to go beyond sharp and then double, your eyes are fighting each other. Go back to the diopter setup at the start of this article and redo it from the beginning.
I Get Eye Strain After 20 Minutes
Take a break. Not only that, look away from the binoculars to something at least 20 feet away. Look at the sky. Eye strain is a sign that you are forcing your focus too much. Relax your jaw, relax your shoulders.
A smooth, relaxed glassing session can last an hour without a headache. If it still hurts after 15 minutes, you might have the focus wheel set too far toward your max distance. Try turning it back and forth to reset your eyes.
Frequently Asked Questions
What is the best magnification for binoculars when hunting deer?
The best magnification for deer hunting is the one you can see through clearly for hours. A 10×42 handles the role well for open country.
An 8×42 will give you a wider view in the brush. The biggest mistake is buying a 12x or 15x and never using it because the field of view is too narrow and the image shakes without a mount.
What are the best binoculars for glassing?
The best binoculars for glassing are the ones that fit your hands, feel comfortable, and have good light transmission.
Look for a pair with consistent edge sharpness. Cheap binoculars have a soft, blurry outer ring that will drag your eye away from the target. Also check that the focus wheel turns smoothly in both directions. Nothing wastes more time than a stiff dial.
What are the best techniques for glassing mule deer?
Mule deer love edges. Focus your glassing on the edges of clearings, the tops of ridges, and the edges of thermal shade. Use the typewriter scanning method from this article, and take breaks.
A mule deer will sit perfectly still until you look away. So cover every inch of the ground, then cover it again from a different angle, or with a different eyepiece.
What are the best binoculars for spotting deer?
For spotting deer at long range, a binocular with good magnification and a wide field of view is ideal. The ability to change focus matters quickly when you are picking apart a far slope.
But best also means what you are comfortable carrying. A pair of 10×42 binoculars is the standard recommendation for most hunters who want a balance of size, weight, and performance.