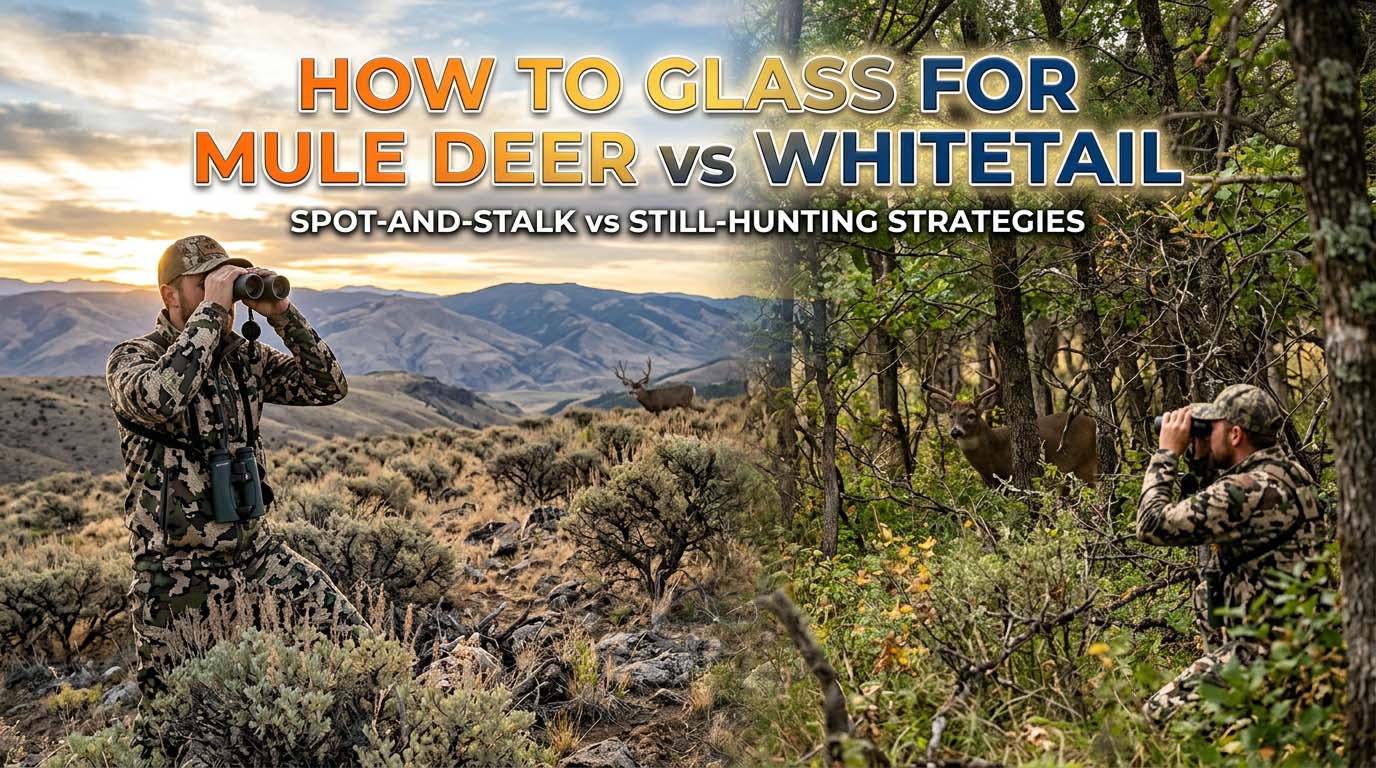
If you own binoculars and hunt deer, you already know that glassing is different for mule deer and whitetail. But most advice stops at “glass more for mule deer” and “glass less for whitetail.” That doesn’t help when you are actually standing on a ridge or sitting in a treestand. You need to know where to look, how to scan, and what to look for. Here is a practical guide for each species.
Glassing Mule Deer Means Scanning the Whole Basin, Not the Edge
Mule deer live in the open. They can see you from a mile away, so you must find them before they see you. The core difference is this: glassing for mule deer is a search-oriented process. You cover a lot of ground with your optics before you ever move your feet.
The 3-zone basin scan is a good starting point. Divide the basin into three horizontal bands: the bottom where creeks and grass are, the mid-slope benches where deer often bed, and the skyline rim where they stand up to check their surroundings. Scan left to right across each zone. Pause on anything that breaks the color pattern – a tan patch in gray sage, a dark shape against a rock slide.
The common mistake is to focus too long on one promising patch. Mule deer can be anywhere in that basin. If you stare at one spot for five minutes, you are missing the other 90 percent of the terrain. Move your glass systematically. Spend no more than 10 seconds on any one area unless you have a real target.
Terrain Reading for Open Country Mule Deer
Look for bedding zones through the glass. Mule deer prefer to bed on benches with a view and a thermal advantage. In the morning, they face the sun on east-facing slopes to soak up warmth. By midday, they shift to north-facing slopes or shade lines. Pay attention to the shade progression. If you glass a basin at 10 a.m., focus on the edges of shadows where the sun is just starting to creep across the sage.
At long range, deer can look like rocks or junipers. Train your eye to notice the subtle differences. A deer’s body has a rounded, soft outline compared to the jagged shape of a rock. A deer’s ear flicks or head turns. If you see a patch that seems “too round” or has a slight movement, zoom in or use a spotting scope to confirm.
Glassing Whitetail Means Reading Cover, Not Clearing It
Whitetail glassing is the opposite of mule deer glassing. You are not looking for a deer in the open. You are looking for edges, seams, and transition zones between cover types. Whitetail spend most of their daylight hours inside thick brush. Glassing thick cover directly is almost always a waste of time. Instead, you glass the edges where cover meets open ground – the field edge, the creek bottom, the power line cut.
The 20-40 yard penetration rule applies: when you find a whitetail, the shot will be close. But detection must be precise. You are looking for a single antler tine cutting across a gap in the brush, an ear that flicks, or the white flash of a tail as a deer turns. These are micro-moments. A wide field of view helps here more than high magnification.
Wind direction dictates which edges you glass first. Whitetail use the wind to check danger before stepping into the open. If the wind blows from the field into the cover, they will hang just inside the brush line. Glass that edge first. If the wind blows the other way, they may bed deeper and move later.
Glassing from a Fixed Position vs. Still-Hunting
If you hunt from a treestand, you glass differently than a spot-and-stalk hunter. From a stand, you have the advantage of elevation and a pre-scouted area. Use your binoculars to scan the downwind edge of the field, the entry trails, and the funnels between bedding and feeding. Keep your movements slow. Raising binoculars too fast can spook deer that are 60 yards away.
When still-hunting whitetail, you glass ahead of each step. Stop every 20-30 yards and scan the brush line for a piece of an animal. The goal is to locate a deer before it locates you. If you see a shape, freeze. Do not raise your binoculars immediately. The deer may be looking your way. Wait until it turns or drops its head, then slowly bring the glass up.
Reading Deer Behavior Through the Lens
Once you spot a deer through the glass, you need to identify which species it is. Body language and movement are more reliable than antlers at long range.
Mule deer move differently. When alarmed, they stot – a stiff-legged bounce with all four feet leaving the ground at once. Whitetail flag their white tail and bound away with a more fluid gait. Even at a walk, mule deer have a rolling, ambling pace. Whitetail walk with tension, ready to bolt.
Head and neck color is another tell. Mule deer have a white muzzle and a white patch on the throat. Whitetail have a brown face with a white throat patch that is smaller and more defined. Ear position also gives them away. Mule deer ears rotate independently, often pointing in different directions as they listen. Whitetail ears stay more rigid, usually pointing forward or sideways.
How each species reacts to your presence through the glass matters. Mule deer are more likely to stare at you from a distance, then bolt if they decide you are a threat. Whitetail freeze and then melt into cover without a sound. If you glass a whitetail that is looking at you, stay still. Do not move the binoculars. Wait until it drops its head before you move again.
The Antler Myth You Should Ignore
Do not rely on antler shape alone to tell the difference at long range. Young mule deer can have antlers that look similar to whitetail, and some whitetail in certain regions have antlers that sweep back like a mule deer. Body shape, tail color, and gait are far more reliable. Look for the black-tipped tail on a mule deer and the brown face. Use those clues, not the antlers.
Choosing Optics for Each Species
You do not need a different pair of binoculars for each deer, but understanding what works best saves time.
For mule deer, 10x or 12x binoculars are ideal. You are scanning open basins at 300 to 1,000 yards. Higher magnification lets you pick out a bedded deer against a rock face. A spotting scope becomes useful when you need to judge antler size at extreme distances or confirm a buck before committing to a stalk.
For whitetail, 8x or 10x with a wide field of view is better. Whitetail appear closer – often within 100 yards. A wide field helps you catch movement in brush openings. Higher magnification is a disadvantage because it narrows your view and makes it harder to track a deer that is moving through cover.
The glassing tripod debate comes down to stability versus speed. For mule deer, a tripod is worth the weight. You will spend hours glassing, and a steady view lets you spot deer at longer distances. For whitetail, you rarely need a tripod. Speed matters more. You need to be able to put the binoculars down quickly and pick up your bow or rifle.
Objective lens size matters more for whitetail than for mule deer. Whitetail are most active in low light – dawn and dusk. A 42mm or 50mm objective gathers more light, which helps you see into the shadows. Mule deer are visible during midday, so a 32mm or 42mm works fine.
When to Put the Binoculars Down and Move
Glassing is not the final step. It is the first step. At some point, you have to act on what you see.
For mule deer, when you locate a bedded buck, mark the location. Use a landmark – a certain rock or bush – so you can find it again without the glass. Plan a terrain approach that uses dead ground. Do not walk straight toward the deer. Circle around to use a ridge or drainage as cover. The 500-yard rule is a good guideline: if you are within 500 yards of a mule deer, you have probably already been seen if you were careless. Commit to a stalk only when you have a solid approach.
For whitetail, glassing often reveals a travel pattern. If you see a buck moving through a brush line at the same time two days in a row, identify the next funnel or pinch point where you can intercept. Set up a stand or ground blind there. The 100-yard rule for whitetail: if you glass a whitetail from 100 yards, you are already too close if you are in the open. Use cover to move closer or set up downwind.
The Setup Shift
Once you have the intel, translate it into action. For mule deer, that means a stalk route. For whitetail, that means a stand location. Always read the wind before you commit. A mule deer’s nose is just as good as a whitetail’s. If the wind is wrong, wait or reposition. Do not rush.
Frequently Asked Questions
What time of day should I glass for each species differently?
Glass for mule deer early morning and the last two hours of daylight. That is when they move between bedding and feeding. Midday glassing works only if you are patient and look for bedded deer in shade. Glass for whitetail at dawn and dusk. They move then. Midday glassing for whitetail is usually a waste unless you know exactly where a bedding area is.
Can I use the same binoculars for both mule deer and whitetail?
Yes, a 10×42 is the most versatile choice. The technique matters more than the glass. Learn to scan differently for each species, and your 10×42 will work for both.
How do I glass in thick timber for whitetail when I can’t see more than 50 yards?
Focus on trail intersections, water sources, and natural openings. Use a wide field of view and scan slower than you think you need to. Look for a patch of brown that does not belong. Move your eyes more than your binoculars.
Do I need a spotting scope for whitetail like I do for mule deer?
Rarely. Whitetail encounters are usually within 200 yards. A spotting scope is only useful for long-range evaluation of a buck after the hunt, not during the hunt.
How does glassing differ when hunting public land with high pressure?
On public land, mule deer get pushed deeper into basins and onto face-away slopes. Glass the spots that are hardest to reach. Whitetail hunker tighter into cover and move only at last light. Glass edges later in the day and expect to see fewer deer during daylight hours. Pressure changes their schedule, not your technique.