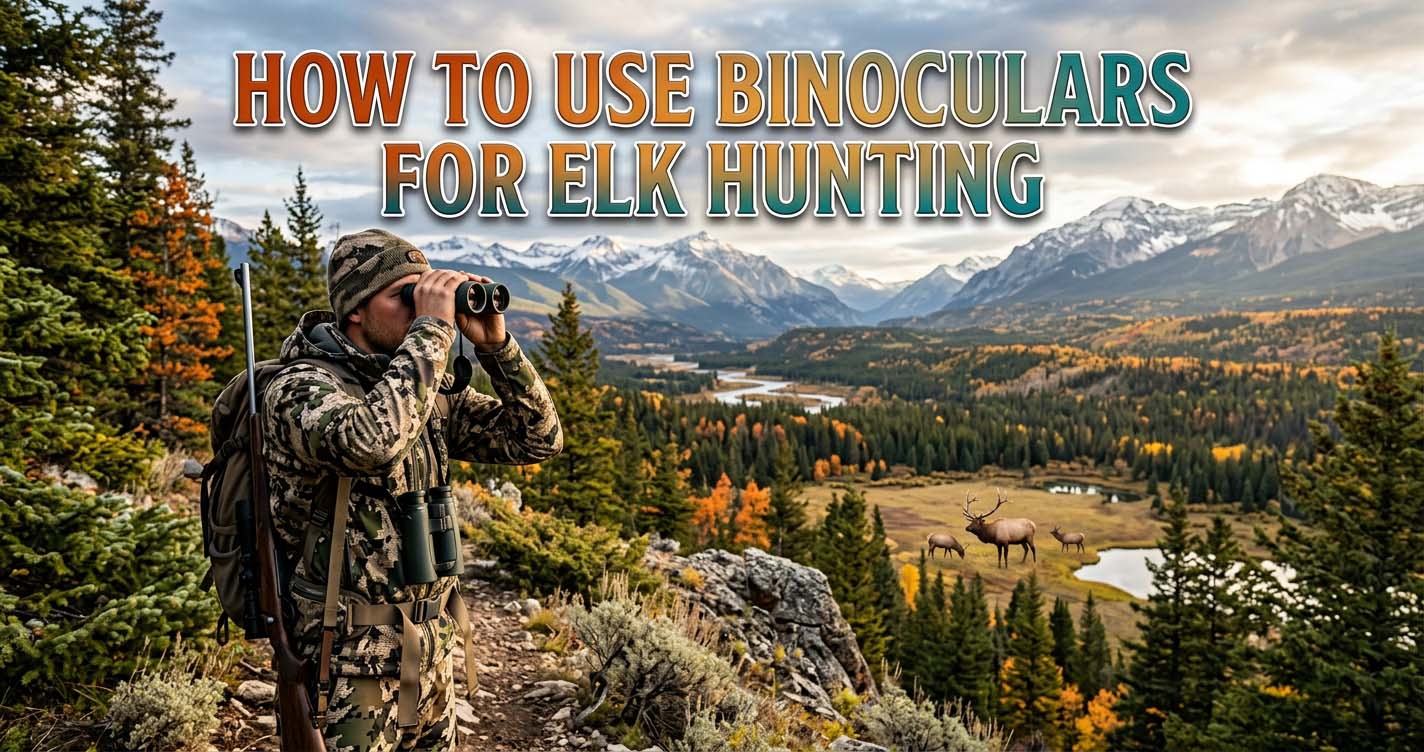
Most hunters believe the difference between seeing elk and going home empty-handed comes down to the price of the glass they carry. That is wrong. The real difference lives in how you hold those binoculars, how you move them across a mountainside, and what your brain is trained to look for inside that circular view.
Your binoculars are not a magnifier. They are a search engine. You do not find elk by luck. You find them through a deliberate system of optical discipline, terrain reading, and a photographic memory for what you have already covered.
This guide walks through that system step by step, from the physical setup of your optics to the final glassing move before you commit to a stalk.
The Real Job of Your Optics on an Elk Hunt
An elk is a master of disappearing. They bed in shadows, they hold still for hours, and they wear a coat that blends with dead grass and pine trunks. Your binoculars exist to break that camouflage. But they only work if you give them a steady platform, a systematic search pattern, and a trained eye for the small pieces of an elk that give the animal away.
Too many hunters lift their binoculars, sweep a basin in ten seconds, and conclude there are no elk. A professional guide will spend an hour on that same basin and find two bedded bulls. The difference is not eyesight. It is method.
How to Set Up Your Binoculars for a Full Day of Glassing
Before you take a single step into elk country, your binoculars need to be configured for your face, your vision, and your day. A poorly adjusted pair of binoculars causes eye strain, headaches, and a blurry image that makes you stop glassing early.
Adjusting the Eye Cups
The eye cups on your binoculars control the distance between your eye and the lens. This is called eye relief. If you wear glasses, the eye cups need to be twisted all the way down so the lens sits close to your glasses.
If you do not wear glasses, twist them up to create the correct gap. When the eye cups are wrong, you get blacked-out edges that feel like looking through a narrow tube. That kills your field of view and your ability to spot elk.
Dialing in the Diopter
The diopter is the small ring located near the right eye cup or the center hinge on most binoculars. It fine-tunes the focus for the difference between your two eyes. Most people have slightly different vision in each eye, and ignoring this adjustment creates a permanent, subtle blur that causes headaches after an hour of glassing.
To set it correctly, cover the objective lens on the right side with your hand or a lens cap. Look through the left side with both eyes open and focus the center wheel until the image is sharp. Now cover the left lens and look through the right side only.
Turn the diopter ring until that image is sharp. Once set, do not touch it again. Just use the center wheel for distance changes.
Neck Carry vs. Harness Carry
How you carry your binoculars affects how often you use them. A strap around your neck puts the weight on your cervical spine. After three hours of hiking and glassing, that strain becomes a distraction, and you start leaving the binoculars down.
A chest harness spreads the weight across both shoulders and keeps the binoculars fixed in the same spot every time you lift them.
The harness also keeps the binoculars from swinging when you bend over or crawl. If you are on a demanding backcountry hunt, the harness wins every time.
The Bracing Techniques That Stop the Shake
You cannot spot an elk bedded in timber if your image is bouncing. The human body is a terrible tripod. Your pulse, your breathing, and the wind all push the image around. The fix is not steadier hands. The fix is using the terrain and your body position to create a stable base. Call this the stability trilogy of elk hunting.
The Fighting Prone
On a ridgeline with a view of a drainage, the prone position is your best friend. Lay flat on your stomach, spread your legs slightly for a wide base, and rest your elbows on the ground.
If the ground is uneven or covered in rocks, use your backpack as a rest. Push it in front of you, settle your elbows on top, and your upper body now has a solid platform independent of your chest breathing.
The Sitting Brace
When you are on a slope and prone leaves you staring at grass, sit up. Bring your knees up to your chest and rest your elbows just inside your knees. This creates a closed triangle. Your knees push outward against your elbows, and your elbows push inward. The opposing forces lock your arms in place. Add trekking poles for an even better setup.
Hold one pole in each hand, plant them in front of you, and rest your wrists on the tops of the poles. This gives you a standing tripod that requires almost no effort to hold steady.
The Tree Tripod
Inside the timber, you are fighting a different problem: you are often glassing uphill or through gaps in the branches. Find a mature pine or fir at least six inches in diameter. Stand against it and use the tree as a brace.
Press your shoulder and the side of your head against the trunk, then hold the binoculars normally. The tree absorbs the sway of your body.
Breath Control
This is the piece most hunters miss. Your lungs moving against your arms cause about ninety percent of the shake you see through the binoculars. Stop breathing between the exhale and the inhale. Take a breath, let it out fully, and then glass during the natural pause before you inhale again.
That two-second window is when your chest is completely still. Use it to focus on the deepest parts of a shadow or a suspicious patch of color.
How to Scan the Mountain Like a Professional Elk Guide
Once you have a steady image, the next problem is what you do with it. The instinct is to lift the binoculars and look at the most beautiful part of the landscape: the alpine basin, the rocky peaks, the open meadows. That is exactly where the elk are not during daylight hours.
The Grid Method
Break the landscape into small blocks. Start at the closest point you can see, usually the creek bottom or the edge of the timberline, and work your way up.
Cover a fifty-yard block of terrain completely before shifting to the next block. This forces you to look at the places elk actually live: the shaded pockets, the deadfall tangles, the benched areas just below the ridge.
Scan in a V or W Pattern
When you move across a block, overlap your field of view by about twenty percent on each pass. There is a blind line at every edge of your binocular view. If you do not overlap, an elk standing in that blind line gets skipped entirely.
Move left to right, drop down, then right to left. This creates a W pattern that leaves no ground unexamined.
The Dark Zone Focus
Elk are not in the sunny meadow at mid-morning. They are in the shaded conifer pocket, the north-facing bowl, the thicket of dead lodgepole. You must train yourself to intentionally spend more time on the dark areas than the bright ones.
In a shaded area, the contrast between an elk and the background is lower, so your eyes need more time to register what they are seeing. Slow down. Move the glass in tiny increments. Let your eye adjust.
Duration Per Glassing Spot
Give every glassing location a full forty-five minutes before you write it off. If you have not seen an elk in that time, move a hundred yards down the ridge and set up again. Elk are creatures of habit, but they are also patient.
A bedded bull may not move for hours. Your job is to catch the slight flick of an ear or the turn of a head that gives him away. That kind of patience is what separates you from the hunters who walk past.
How to Recognize an Elk in the Shadows and Deadfall
In most cases, you will not see a whole elk. You will see a horizontal line where a back should be, a warm patch of tan in a field of gray logs, or the reflective glint of a single antler tine. Your brain needs to learn a new visual grammar.
See the Geometry, Not the Animal
Elk are built on horizontal lines. The back, the belly, and the neck all run parallel to the ground. Timber and deadfall run vertical.
When you are glassing a piece of deadfall, look for any horizontal break in the vertical pattern of the tree trunks. That is your first clue. A stretched-out bedded elk looks like a log at first glance, but a log does not have a shoulder hump or a rump patch.
The Color Palette
An elk’s winter coat is a buttery tan with darker legs, neck, and head. Dead grass is gold and gray. The difference is subtle but distinct. In low light, the elk’s body will appear to have a warmth to it that the surrounding vegetation does not.
Look for a patch of color that feels out of place. Trust that feeling and then verify it by examining the shape.
The Parts Checklist
When you spot an anomaly, run a mental checklist of elk parts. Is there a white or cream-colored rump patch? That is nearly impossible to fake. Is there a dark chocolate neck or a set of heavy antlers contrasting against the brush? A bedded bull shows his antlers first because they are above the rest of his body.
If you see a horizontal pair of lines with points breaking the skyline or the brush pattern, you are looking at a bull.
When They Look Like Stumps
The most common miss is the elk that looks like a stump. A standing elk facing away from you, holding perfectly still, is just a brown column. The giveaway is movement. The flick of an ear, the swish of a tail, the slight shift of weight.
These tiny motions are your only clue. This is why the grid method works. You pass over the area multiple times, and eventually you catch the micro-movement that a single quick sweep would have missed.
How to Use Binoculars to Judge Elk Bulls
Judging an elk through the binoculars is not just about counting points. It is about determining whether that animal is legal, whether it is a bull you want to chase, and whether you are looking at a trophy or a young satellite.
Estimating Age and Legal Status
Before you raise your rifle, you need to know if that bull is legal. In most states, a spike is not legal, and a branched bull is. At five hundred yards, the binoculars are your legal tool. Count the antler points by looking at the silhouette against a lighter background. If the bull is standing in dark timber, you are not going to get an accurate count.
Wait for him to step into an opening or raise his head. If you cannot count the points, you cannot ethically take the shot.
Behavioral Clues
An elk’s posture changes its visual size. A bull that is alert, with his head up and his neck straight, appears taller and longer. A bull that is relaxed, with his head down feeding or his neck tucked against his chest, looks stubby and smaller.
Do not make your judgment call during a relaxed posture. Wait for him to lift his head.
Body Mass vs. Antler Mass
A big bull can look small when he is stressed or posturing. When a bull is relaxed and fed, his body fills out, and his antlers look huge. When he is chased or on edge, he tucks in, and the whole image compresses. Use your binoculars for a slow, patient assessment. Watch him for several minutes.
Compare his body length to the surrounding vegetation. A mature bull’s body is bigger than a yearling’s, and his antlers sit wider than his ears when he turns his head. The optics give you the time to make this analysis. Use it.
How to Build an Elk Stalk Using Your Binoculars
The glassing phase does not end when you spot the bull. It transitions into a new job: mapping your route and watching the elk while you move. This is where the binoculars become a tactical tool.
Memory Mapping
Once you have spotted your bull, do not take your eyes off him until you have memorized his location. Pick a distinctive landmark directly behind him: a big dead snag, a boulder, a fork in a trail.
Then glass around that landmark to find a route that avoids open ground. You are looking for the path you will walk, not the path you want to see. Mark two or three waypoints in your mind: the edge of the timber, the log you will cross, the rise where you will set up for your last look.
The Watching Phase
Mid-stalk, your binoculars have one main job: watch the bull’s last known position. He will move, and you need to know when.
Glass the spot every few minutes as you move. The critical moment is when the bull puts his head down to feed.
That is your window to move quickly. When he lifts his head, freeze. This is a rhythm you need to learn. The binoculars are what allow you to see this rhythm from a distance without spooking him.
Calling vs. Glassing
If you are calling, your timing with the binoculars is everything. Let a cow call out across the basin. Immediately lift the binoculars to the area you are calling to.
An elk that hears a call will often stand up, turn its head, or step out from behind cover to investigate. That response happens in the first few seconds. If your binoculars are not already up, you will miss the only visual confirmation you get.
Binocular Mistakes That Elk Hunters Make in the Field
These are the common errors that cost hunters elk. Read through them before you hit the mountain, and you will eliminate most of your own frustration.
The Sun Glint Error
You take out your binoculars and scan a basin. The rising sun catches the objective lens and throws a massive flash of light across the canyon. Every elk in that basin just watched you signal your presence.
Keep your binoculars shaded when you are glassing toward the sun. Use the shadow of a tree, your hat brim, or your hand to block the sun from the front lens.
The Lazy Freehand
Never lift the binoculars to your eyes and then look for a place to rest your elbows. The brace comes first. Find your support, plant your body, then bring the glass to your face. This habit alone will improve your image stability more than any expensive lens upgrade.
Faith in Magnification
More magnification is not better for finding elk. A 15x binocular has a very narrow field of view, which means you are exploring the mountain in tiny slivers. That takes longer, and you miss more.
The best strategy is to use a wide field of view (around 10x or less) to find the elk, then switch to a higher power spotter or accept the smaller image. Start wide. Zoom in on the anomaly you found.
Forgetting the Reticle
When you think you see a legal bull, the temptation is to lift your rifle and confirm through the scope. Do not do this. A rifle scope has a tiny field of view, and you will lose the elk completely while trying to find him.
Use your binoculars to do all the legal assessment and trophy evaluation. The rifle comes up only when you are ready to commit to the shot.
Frequently Asked Questions
Should I use binoculars or my rifle scope to judge a bull?
Always use binoculars. Rifle scopes have a much smaller real field of view, and heat shimmer distorts the image more at high magnification. Binoculars let you see the same animal in the context of his surroundings, compare him to terrain features, and track him easily if he moves. Save the rifle scope for the final aiming point.
How do I stop my binoculars from fogging up when I glass during a cold descent?
Fogging happens when warm, moist air from your breath hits the cold glass. Breathe through your nose with your mouth closed, and keep your binoculars under your jacket when you are not using them.
If you need to take a breath of cold air, turn your head away from the binoculars and exhale to the side. This is called the open-collar method, and it works well when you are wearing a high-collar hunting jacket.
Does objective lens size matter for glassing a dim timberline at dawn?
The key is exit pupil size, which you get by dividing the objective lens diameter by the magnification. A 10×42 has a 4.2mm exit pupil. A 10×50 has a 5.0mm exit pupil. In dim conditions, your eye’s pupil opens wide, and a larger exit pupil lets more light hit your retina.
If you glass dawn and dusk frequently, a 10×50 or larger objective is the right call. A 10×42 is lighter but will be significantly darker in twilight conditions.
Can I use a monocular instead of binoculars to save weight on a backcountry hunt?
You can, but you will sacrifice a lot. Linking both eyes through two lenses lets your brain fuse the images into a single 3D picture. That reduces eye strain, keeps your brain fresh, and lets you glass for hours without headaches.
A monocular causes the unused eye to wander and creates fatigue quickly. If you are planning long glassing sessions, the small weight penalty of binoculars is worth it.
How often should I put the binoculars down and listen when glassing?
Use the 50/50 rule. Split your time between looking and listening. In elk country, auditory clues fill in the gaps where your eyes cannot reach.
A limb snapped under pressure, a rock rolling down a slide, or a distant bugle will tell you exactly where to point your binoculars. If you are constantly staring through the glass, you will miss the sound that tells you where the elk actually is.
Why do I get headaches after an hour of glassing for elk?
This is almost always the diopter. If both eyes cannot achieve perfect focus, your eye muscles strain to compensate. The headache creeps up because your brain is actively trying to correct the blur. Set your diopter correctly before you leave the truck, and the problem disappears.
Putting It All Together in Elk Country
You now have the physical technique, the scanning system, and the visual recognition skills that form the foundation of elk hunting success. The next step is practice. Pull out your binoculars in the backyard.
Pick a specific tree a hundred yards away. Hold it steady. Find the peaceful moment between breaths and study the bark until you can see individual textures. Then move to the next tree. Build the habit until lifting the binoculars and finding a rock-steady image is automatic.
When you step into elk country with this system, the mountain changes. The basin becomes a series of grids to be worked. The shadows become puzzles to be solved. And the bull that was always there, waiting in the deadfall, will finally show himself to you.