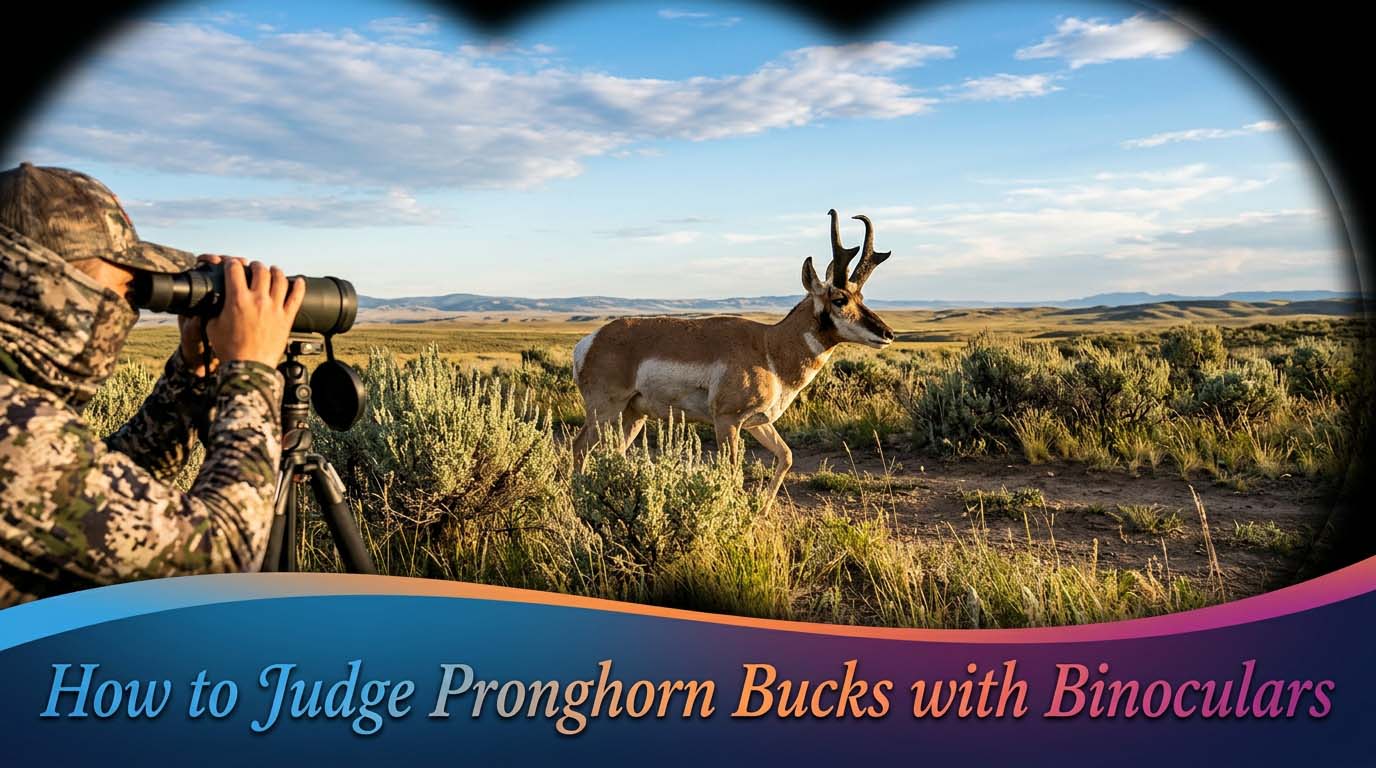
Field judging a pronghorn buck with hunting binoculars is nothing like judging a mule deer or an elk. You are not glassing a stationary animal in timber. You are trying to read the fine details of a hyper-vigilant animal that can see you from half a mile away, in an environment where heat mirage can turn a horn into a blur in seconds. The clock starts the moment you lift your glass, and it usually stops within 30 seconds.
If you don’t have a mental system for what to look for and in what order, you will either pass a buck you should have stalked or commit to a buck that will disappoint you at the truck.
This article is not a Boone and Crockett scoring guide. It is a fieldcraft system built around the specific constraints of judging pronghorn through binoculars in the wide-open West.
You will learn how the animal’s vision dictates your technique, how to judge through mirage, how to see through the flattening effect of binoculars, and a three-stage workflow that lets you make a confident decision in under 30 seconds.
Why Pronghorn Judging Is Different
Pronghorn have the best eyesight of any big game animal in North America. Their large eyes are set wide, giving them nearly 300 degrees of peripheral vision and exceptional motion detection.
They can spot a lens glint or the rise of a hunter’s silhouette at distances that would make a mule deer look like a rookie.
This means that simply putting your binoculars to your face can alter the buck’s behavior. If he is already alert, you may only get a few seconds before he spooks the whole herd.
The open prairie offers no cover for you or the animal. Every move you make is visible. The animal’s binocular vision is also exceptional; they can resolve detail at distances that force you to rely on your own optics.
This is why the tool you choose and how you use it matters more for antelope than for any other species.
You are not just judging the animal; you are trying to get a clean look before the animal judges you.
Understanding the Pronghorn’s Eyesight Advantage
To buy yourself time, you must work with the animal’s vision, not against it. Pronghorn rely heavily on movement and contrast. A still hunter who blends into the terrain is much harder to detect than one who moves frequently or silhouettes against the sky.
**Glass from cover whenever possible.** Use the shadow side of a hill, a sage bush, or even a fence line to break up your outline. If you have to glass from an exposed position, do it from a prone or seated position to lower your profile.
Keep your binocular movements slow and deliberate. Fast, jerky motions catch their attention immediately.
**Use the sun to your advantage.** Glass with the sun at your back or over your shoulder whenever you can.
The glare off your lenses is hidden from the animal, and the extra light will help you see through mirage and detail in the horn. If the sun is in your face, you are backlit to the deer – they will see you clearly while you struggle with shadows and glare.
**Avoid reflective gear.** A white shirt or bare skin catches light across a basin. Wear muted colors in earth tones, and consider a face covering if you are glassing in open country. A pronghorn that is staring at you will not give you the 30 seconds you need to judge his horns.
By controlling how the animal sees you, you can extend the window of observation from a frantic 10 seconds to a manageable 30 seconds or more. That extra time is the difference between a hasty guess and a confident decision.
Choosing and Stabilizing the Right Binocular
Most pronghorn hunters carry a 10×42 binocular, and for good reason. The 10x magnification gives you enough reach to judge horn architecture at 300 yards, while the 42mm objective collects enough light for early and late glassing.
Higher magnification like 12x or 15x can be tempting for detail, but they also amplify mirage and movement. A shaking 15x image will tell you far less than a steady 10x image.
**Use a tripod or window mount whenever possible.** A tripod turns a 10x binocular into a 20x equivalent for stability, allowing you to hold on the buck long enough to work through the judging sequence.
If you are hunting from a vehicle, a simple window mount is even faster to deploy. Stability is the single biggest factor in seeing the fine points of mass and curl.
If you must glass by hand, brace your elbows on your knees or against a solid object. Take a deep breath and exhale slowly as you focus. A steady image lets you see through the mirage and read the true shape of the horn.
The Heat Mirage Workaround
Heat mirage is the antelope hunter’s worst enemy. On a warm afternoon, the air shimmers over the prairie, making horn tips dance and distort.
The ear reference becomes useless because you cannot clearly see where the ear ends. Many hunters abandon the attempt and just guess.
But you can judge through mirage by shifting your focus.
**Read the bottom third of the horn.** The base and lower portion of the horn stay relatively stable against the animal’s body and head. This section is less affected by mirage because it is closer to the solid mass of the animal.
Look at how heavy the base is compared to the eye-to-horn gap. A thick base that clearly exceeds the width of the eye-to-base gap indicates good mass, even if you cannot see the tips.
**Use body mass as a proxy for age.** In mirage conditions, you may not be able to see the horn length clearly, but you can still assess the buck’s body.
A mature buck has a thick neck, a deep chest, and a heavy body. If the buck looks big-bodied and blocky, he is likely older and has heavier horns.
You can make a provisional pass or investigate decision based on body cues alone and then wait for better conditions to confirm length.
**Wait for the buck to walk.** Movement cuts through mirage. When a pronghorn walks, the rhythmic motion of its body parts makes the horn shape momentarily clearer. Focus on the horn during the stride when the head is steady.
Also, a walking buck gives you a better side profile, which is essential for judging sweep and prong position.
If you can, glass early in the morning or late in the evening. The air is cooler, and mirage is minimal. The first and last hours of daylight are your best windows for accurate judging through binoculars.
A Three-Stage Field Judging System for Binoculars
You have about 30 seconds from the moment you raise your binoculars until the herd likely knows you are there. Within that window, you need to go from identification to a yes/no decision. Here is a time-budgeted system that keeps you organized.
Stage 1: The Instant Filter (0–10 seconds)
Do not start by looking at the horns. Use the first ten seconds to assess the buck’s maturity and behavior. Is he a dominant buck holding a herd, or a satellite buck off by himself? Dominant bucks are often the oldest and have the best horn development. Satellites can be good, but they are more likely to be younger.
Look at his body size and neck mass. A mature pronghorn has a thick, dark neck that blends into the chest. His body looks heavy and low to the ground. A young buck has a lighter, more slender frame, with a neck that looks thinner and more uniform.
Also note his alertness. If he is staring directly at you with his ears up, you have very little time. If he is feeding or bedded with his head down, you can relax slightly. If he is alert, you may need to abort and try for a better angle later.
If the buck clearly does not meet your threshold based on body size and behavior, drop him with the binoculars and move on. Do not waste your time on a young buck that might have tall, skinny horns. Your first filter is age.
Stage 2: The Architecture Scan (10–25 seconds)
Now focus on the horns. If mirage is manageable, start with the ear reference. A pronghorn’s ear is about 6 inches.
How many ear-lengths is the horn above the ear? One ear-length = about 12 inches total. One and a half = 14–15 inches. Two = 16+ inches. This is your first length estimate.
Next, look at mass. The distance from the center of the eye to the base of the horn is consistently about 4 inches. If the horn base is clearly wider than that gap, the buck has good mass. If it looks narrow, his total score will be lower regardless of length.
Now assess the sweep. Look at how the horn curves back and then in. A horn that looks like it goes straight up and then hooks sharply is typical of a younger buck.
A mature horn has a more gradual sweep, with a noticeable inward curve at the bottom before hooking up. Also notice the gap between the horn and the neck. A wide gap can indicate a thinner horn or one that does not curl tightly.
Stage 3: Prong and Tip Confirmation (25–35 seconds)
If agitate you have time, go into the details. Look at the prong. Does it extend forward past the tip of the ear? That is a good sign. Does it angle forward and slightly up, or does it angle outward? Forward is better scoring.
Also note where the prong sits on the horn. A prong set high, near the middle of the horn, is usually longer.
Finally, check the tips. Mature bucks often have a pronounced curl at the tip, sometimes called cut. The tip turns back toward the face. If you see that, the buck is likely older, and his horns have finished their growth. Young bucks have tips that either taper straight or turn slightly out.
If by this point you are still unsure, drop the binoculars, note his location, and try to get a better angle later. Do not force a decision.
Overcoming the 3D Horn Illusion
Binoculars flatten the world, and that flattening does a disservice to pronghorn horns. A horn that appears short at first glance may actually be sweeping far back and then turning up, concealing inches that the binoculars cannot show because you are only seeing the width of the horn from the side.
Conversely, a horn that looks tall may be straight and lacking the deep curve that adds score.
To overcome this illusion, you have to “unfold” what you see.
**Watch the animal’s head position.** When the buck turns his head slightly or looks away, the horn changes shape. Use that moment to see the horn from a different angle.
If you see the base and the tip at the same time from the side, you are getting a two-dimensional slice. If you see the horn as a darker shadow against the neck or the sky, you may be seeing the true length.
**Look for the shadow line.** The horn is a dark, solid object. A light shadow running along the top or side can indicate the ridge of the horn and help you gauge curvature. A horn that is curving inward will show a shadow at the base where it meets the head.
**Use the ear as a 3D reference.** The ear is relatively flat and points to the side. Hold your mental picture of the ear against the horn. If the horn seems to stick out well beyond the ear’s base in a side view, it has good width. If it looks like it sits flush against the head, it is likely straight and thin.
The more time you spend watching a buck move, the better your brain will reconstruct the true shape. Don’t be afraid to watch a buck for several minutes if you are hidden and he is calm. The first impression can be misleading.
Practice Before You Hunt
You can learn to judge pronghorn faster by practicing on every antelope you see, even does and young bucks. Spend time behind your binoculars just observing horn structure. Compare what you see against known reference points.
If you hunt an area with managed pronghorn, you may even be able to check harvested bucks against your field notes.
The hunters who consistently make good decisions on pronghorn are those who have internalized the ear reference, the mass check, and the prong position so deeply that they do not have to think about it when a buck steps into view.
The 30-second clock starts when you raise your binoculars. Make sure your system is ready before you do.
Frequently Asked Questions
What is the easiest way to judge a pronghorn buck when you only have a few seconds?
Use the body filter first. Look at neck mass and body size. If he looks mature, quickly estimate horn length by how many ear-lengths the horn extends above the ear. Then check for a prong that extends past the ear tip. That three-second scan will separate the buck worth a longer look from a pass.
How do you judge a pronghorn buck that is bedded down?
A bedded pronghorn is often easier to judge because he is relaxed and holds his head low. You can use the ear reference against the ground or his body.
Pay attention to the horn base and mass, as these are visible even when he is down. Wait for him to stand or shift position to see the prong and tip.
Can you accurately judge horn length when a pronghorn is facing straight toward or away from you?
No. The ear reference works only from a broadside or slightly quartering angle. If the buck is facing you, you lose perspective on horn length and curvature. You can still assess base mass and body size. Wait for him to turn or change position before making a length judgment.
Is a spotting scope necessary if I have high-end 12x binoculars?
A spotting scope helps because it gives you a larger, more stable image for detailed judging. However, if your 12x binoculars are tripod-mounted, you can judge most bucks effectively.
The spotting scope is useful for extreme distances (over 400 yards) and for checking fine details like prong length and tip curl under good conditions.
How do you differentiate a trophy class buck from a young buck with tall, skinny horns at 400 yards?
At 400 yards, mirage and heat are more pronounced, so length estimates are unreliable. Focus on mass. A trophy buck shows a heavy base that contrasts with the eye-to-base gap. He will also have a thicker overall horn diameter.
A young buck’s horns look pencil-thin from base to tip, even if they appear tall. Also look for a prominent prong. If you cannot clearly see a prong at 400 yards, the buck may not be mature. Move closer or wait for better light.